Wednesday, April 4, 2012

Time lapse videos from the trip

During our recent sailing trip to Santa Cruz Island we had the use of Dan's Hero HD camera with a waterproof enclosure, so we took some time lapse photography series. The settings were for 720p every 30 seconds, and I compiled them at 1 frame per second at lower resolution.

The first time lapse is of our first morning at anchor. We're having breakfast and doodling around. The water's too cold to go snorkeling, so we're kind of boat-bound. I think that in these circumstances the boat is very much like a super comfy portaledge.


The second time lapse is of us motoring towards our next anchorage that afternoon. The island is to our left and we're checking out all the cool caves we're motoring by. A bit after the battery ran out things got interesting, as the wind kicked up right on our nose.


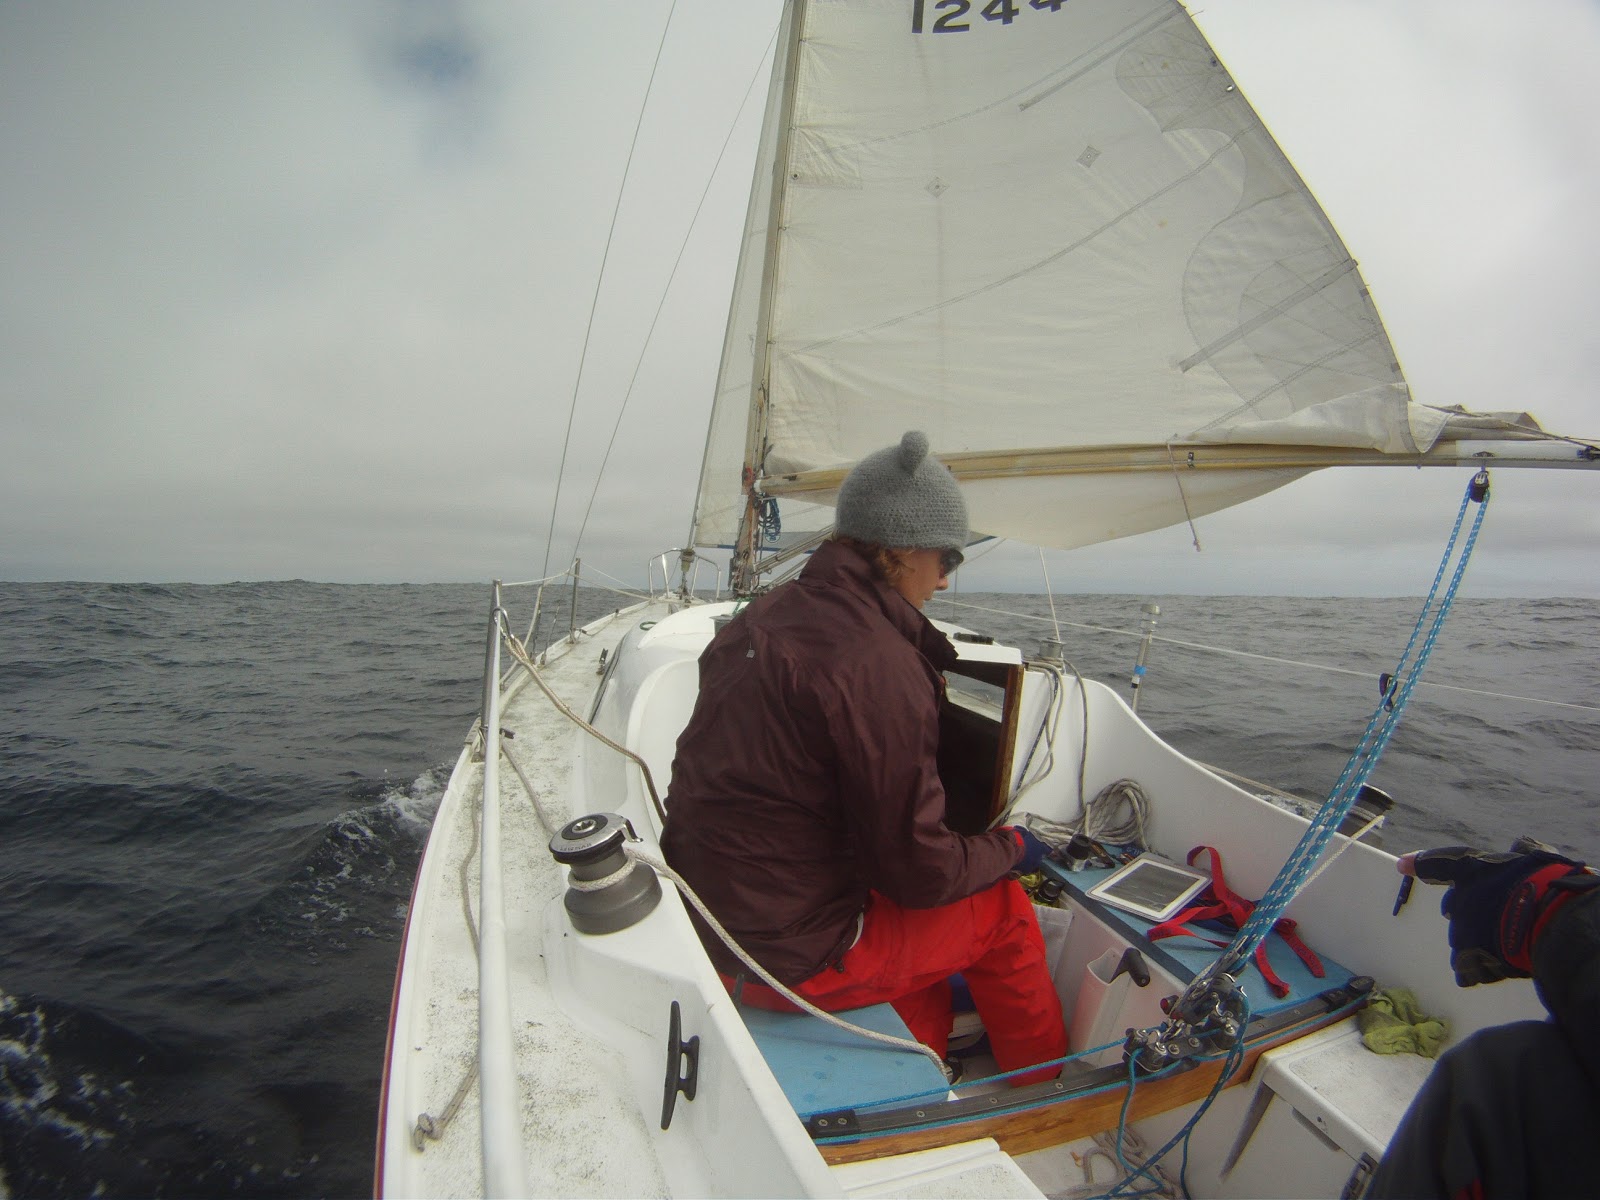
The third is of us sailing away from the island the day after, but after all the excitement of putting away the anchors and sailing through the windiest bit is done for. At some point in this time lapse we shake out the reef in the sail, as the wind drops, then switch to motoring when the wind dies completely.


The final video is on that same leg, when the wind comes back up, from the opposite direction, when we're about 5 miles offshore of Santa Barbara. At this point we have water or some other kind of gunk on the camera's enclosure, so the view is a little blurry.


This was my first experiment with time lapse, and I had a lot of fun. It saves battery power compared to video (i.e. you can get a longer time lapse series than you can shoot continuous video on the same amount of battery power) and it's better at showing the motion of the boat through the seascape around it. Since the Hero is mounted on a fixed point in the boat you lose all sense of the boat's side-to-side motion, which is considerable, but you can get that back by focusing on any object on the boat that's hanging, e.g. the gloves or a mug on the lifelines, or a line off the spreaders in the first video. Of course, unlike in video, there is no sound. I could've stuck a sound track on these, but I wanted to try them out on you raw first. What do you think? What stands out? Does it look like what you thought things would look like on a small boat?

Tuesday, April 3, 2012

Gear abuse

Because this was the Origo stove's first trip, I wanted to have a backup stove in case that didn't work. Also I was imagining an outside stove and an inside stove situation, so that if we felt like hanging out in the cockpit we wouldn't have to, you know, commute five feet into the cabin to check if the water's boiling. I don't know, explain it however you like! I was just over-prepared, as usual.

So I brought along my beloved pocket rocket, plus a hanging kit for a jetboil that I found on sale at some point. The hanging kit doesn't work properly for the pocket rocket, but, well, we're equipped with all sorts of fun things on board, including fancy $10/roll Monel bailing wire, essentially. So I wired the stove to the hanging bracket. The plan was to suspend it from the backstay like so:

So I did and I put a pot of water on it, and lit it and let it do its thing, until the pot came crashing down, and when I looked up at the stove I found that the skeleton had bent.
I think the way I suspended it had the skeleton a bit too close to the flame, and as it warmed up it became softer and it eventually warped. The good news is that I'm so strrrrong that I was able to bend it all back into shape. For what? The next experiment in gear abuse, I'm sure.

Thumbs up gear

Some of the new gear on the trip proved to be worth their weight in gold.


For example, the Origo 1500, equipped with potholders and sitting in a custom cabinet that I built for it, was a smashing success. People had warned me that alcohol stoves burn too cool and too sooty, propane is better, etc etc. Aside from filling the alcohol canister from a jerry can of alcohol, which was difficult and wasteful, we had no problems with the stove. We used a long-nosed lighter to start it, and it started and ran reliably, quietly and effectively. We had one $25 aluminum pressure cooker and a $10 aluminum percolator kettle, minus the percolator. The pressure cooker fit with the pot holders at max and the kettle with the pot holders at the minimum of their expansion range. Both worked beautifully, and we had no hesitation using the stove whenever we needed it -- partly a safety concern in a cold environment.

We had no problem using the iPad in all conditions with
the CaseLogic case.
One of our tech toys, the CaseLogic water resistant iPad case, got put through its paces and worked really well. Aside from paper charts, we wanted to use the iPad with iSailGPS to automatically plot our location on scanned charts. This setup worked really really well. The iPad acquires a satellite signal faster than any other GPS I've ever used, so it was really easy to pull it up to the cockpit and do our work on it without worrying about how much spray we had coming in at the time. The touch screen works well right through the case and the clarity is quite good. As a bonus, the case protects the iPad from scratches and also pads it a little, for when it gets knocked around.

Finally, we only had one chance to use the GoalZero Nomad 7 solar panel to charge the Hero HD's camera, and that was in cloudy conditions. The charging light stayed on, and indeed the battery got some charge, but we had low expectations in those conditions and we didn't log how long we charged it or how far it charged.

Monday, April 2, 2012

Thumbs down gear

Woohoo! We're back! We had an awesome time!

First off, some of what didn't work. We had two "exciting" gear failures and one that didn't surprise us at all.

The unsurprising one was a part failure on the new tiller. The old tiller has a metal "knee" that braces it against the rudder. It's for convenience, rather than necessary, since the tiller works just fine without it, but can chafe on a coaming. So the knee just keeps it off that coaming. I didn't want to remove the part from the old tiller and put it on the new, since I want to keep the old tiller as a backup. I don't know how to mill a metal one (that's the new project as a result of this), so I made one out of walnut wood impregnated with penetrating epoxy. It broke within minutes of sailing. Oh well! So Kitty taught me how to make some chafing gear to protect the tiller where it rubs on the coaming, and here it is:

The new chafing gear.
Otherwise, the new tiller was a huge thumbs up!

The other two gear failures were annoying and scary, respectively.

The most annoying one concerned WAG bags. These are a double-bag human waste disposal system, in which you pee and poop into an inner bag that contains a gelling powder, then wrap it all up in a leak-proof outer bag for packing out and disposal. We were planning to use these over a bucket for the trip, so we wouldn't have to have liquid waste on board, which can be tricky on a small boat that pitches around a lot. We had a dozen WAG bags that came with the boat, among which one had already been opened, presumably for inspection by the former owner. We used that one first and everything was fine. On the second day, when it came time to use a second, I discovered that the unopened WAG bag packages were a little different from the opened one. Those contained a biodegradable inner bag. However, their packaging, which was heat-sealed plastic, was not sealed all the way on all of them. So all of the inner bags had biodegraded from exposure to humidity. We had no inner bags, and the outer leak-proof bags were too small to use directly! Boo! We had to bucket and chuck it from that point on, which made us sad. So don't store WAG bags in humid places! WAG bag company, listen up: heat seal those packages! Quality control, baby!

The other gear failure was a little more disconcerting, rather than inconvenient. When we left the islands for the mainland it was blowing 20ish kts, with a big swell and we hadn't slept that night, so I thought tethering up to the boat was a good idea. When I got done cleaning up anchors after our departure I went back to the cockpit, and, as I was stretching and kind of re-arranging my chest harness, rrrrriiiip, it tore! I knew that chest harness was old, it looked pretty tired, but I was so mad at myself for not putting it to a serious test before trusting it. These chest harnesses are made of white nylon webbing, sewn around stainless steel hardware. The construction is very similar to that of a simple climbing harness without padding. But, where climbing harnesses are subject to abrasion and sunlight damage, sailing harnesses are subject to saltwater and sunlight damage. Well, apparently, this one was toast. I should point out that this is not the fault of the manufacturer, but squarely on my shoulders. I do not even remember where this harness came from, and I knew it was suspect, but, like I pull-test my climbing gear placements when the stance permits, I should have pull-tested this harness before trusting it. I switched to wearing a life jacket after that.

Taking off the torn harness.
Of the newly purchased gear we wanted to use on this trip, only one thing didn't work out. The DicaPac WP310 for my Canon S95 was ill-fitting, in spite of being the size recommended on the company's fitting guide. This resulted in a black halo around the pictures I took with it. Also, the silica pack they included was useless for keeping the interior from eventually fogging up. Thumbs down!
You can see the black halo from the ill-fitting lens barrel on
the DicaPac PW310 used with a Canon S95.

A bit about what worked well in the next post!